Wouch!!! That is "Wow these are great!" combined with "Ouch! I could have been eating these for years!" My first foray into Tamale making, I know--hard to believe for a Mexican food lover like me--turned out better than expected. I will most certainly be making more tamales in the very near future. (Watch for dessert tamales coming to this blog soon!) They are not as time consuming as you may have been lead to believe. Nor are they technically difficult. They are vastly versatile as well. I think you are going to love them!
 |
| Tamales split open to reveal fab fillings |
You will need some corn husk wrappers, some dough, some fillings and some toppings.
Tamale Dough for 24 tamales (this will need to chill so begin it earlier in the day)
3 cups Masa Harina
2 1/2 cups warm water (about)
1 cup coconut oil
1 teaspoon salt
1 teaspoon baking powder
3/4 to 1 cup cool water
Pour some warm water over masa harina and mix with your hands until it holds together and is about as stiff as play dough, adding water as needed. Allow to rest about 15 minutes. Place coconut oil, salt and baking powder in the bowl of a mixer. With a paddle attachment, beat until fluffy, about 5 minutes. While mixer is running, add a handful (about 1/3 cup) of masa and 1 tablespoon of cool water to the bowl. Once that is incorporated, repeat with another handful of masa and some more water. Continue until you have mixed in all the masa. The dough should be the consistency of a thick brownie batter, but light and fluffy. You can check to see if enough air has been incorporated by dropping a teaspoon full into a cup of cold water--if it floats it is ready, if not, continue beating and check again in a few minutes. Cover dough surface with plastic wrap and chill for 2 hours or more. (Dough can be frozen at this point.)


When ready to assemble tamales, begin by soaking about 1/3 of an 8 ounce package of dried corn husks in hot water. While they are soaking, make Hot Red Chile Sauce and fillings.
Hot Red Chile Sauce (you will need some of this for the veggie filling)
2 1/2 ounces dried New Mexico chile (I have tried other types and they were not nearly as good!)
6 cups hot water for soaking
2 cloves garlic
1/2 teaspoon salt
1 tablespoon Mexican oregano, dried
2 tablespoons olive oil
Soak chilies in hot water for 20 minutes. (You may need to weigh them down so they don't float.) Remove a softened chile from water, pull off stem end, split lengthwise with fingers and wipe off seeds. Discard seeds and stems. Place chile flesh into a blender container. Repeat with remaining chiles. Smash and peel garlic, add to blender. Add salt and oregano. Measure 1 1/4 cups of the soaking water and pour it into the blender. (This makes the sauce hotter; you can use plain water to make it milder.) Place lid on blender and process for 5 minutes or more until a smooth sauce is produced. In a small skillet, begin heating olive oil and add chile sauce. Heat through to use. This sauce can be reheated for serving.
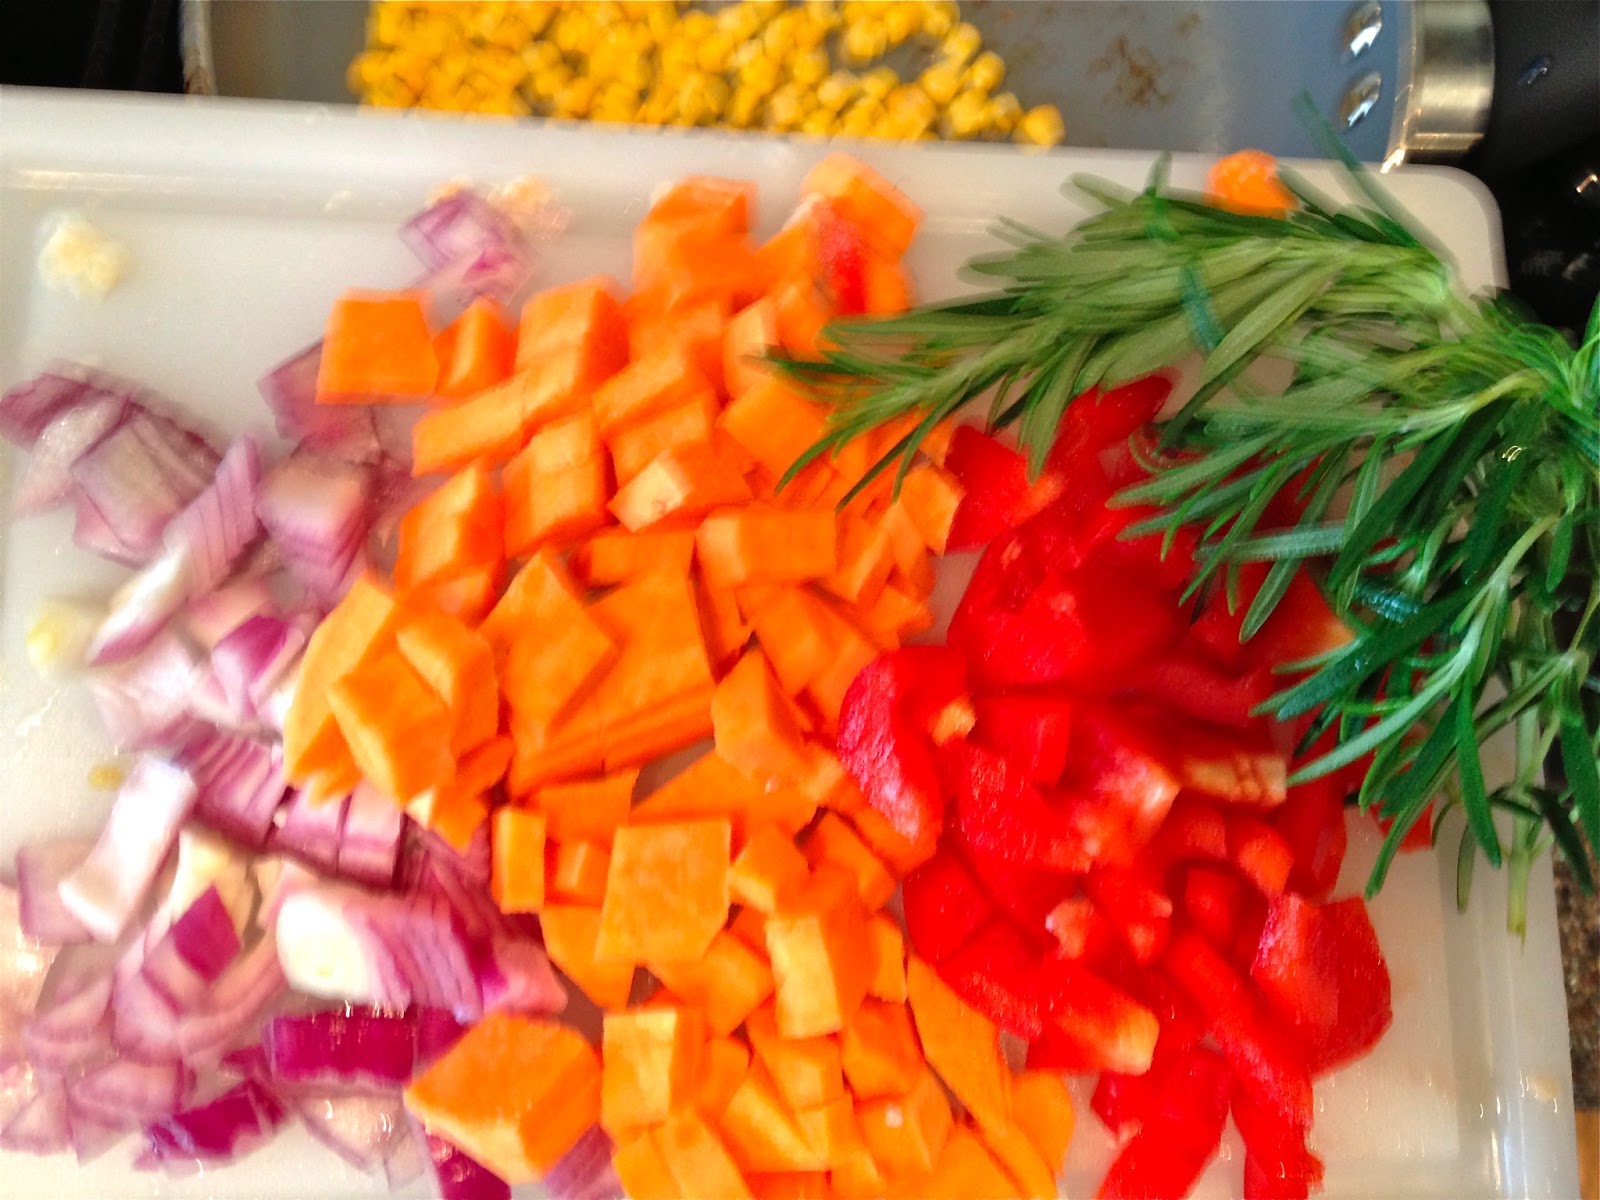
Sweet Potato and Corn Tamale Filling
1/3 cup fresh or frozen corn kernals
2 teaspoons olive oil
1/2 cup diced sweet potato
1/4 cup diced red onion
1/4 cup diced red bell pepper
1/2 teaspoon salt
1/2 teaspoon rubbed sage
1 tablespoon chopped fresh rosemary (dried is not a good substitute here)
1/4 cup water
1/4 cup Hot Red Chile Sauce
Heat a small skillet over medium high heat. Add corn to hot pan. Cook without stirring for 2 to 3 minutes. Corn will begin to "pop" and brown on the bottom. Stir oil into corn. Add sweet potato, onion and pepper, stirring to coat with oil. Sprinkle salt and herbs on veggies, cook for 2 or 3 more minutes stirring often. When most of the veggies begin to caramelize, deglaze the pan with the water. Stir to bring up the fond (browned bits on the bottom of the skillet). Add the red chile sauce and continue to cook until the water has nearly evaporated. Remove from heat and set aside to cool slightly.
Chicken Tamale Filling
2 cups cooked chicken, diced or shredded
1 (7) ounce can chopped mild green chilies
1/2 teaspoon salt
1/2 teaspoon coriander
Combine ingredients in a bowl and set aside for assembly.
Assembly and Cooking:
Take about 1/3 cup of the chilled dough and spread it out 1/4 to 1/8 inch thick on the center of a damp corn husk (you can overlap two smaller husks or use one large one), leaving 1/2 inch on the sides and 1 1/2 inches on the bottom. Spread 1 to 2 tablespoons of filling down the middle of the dough. Gently pull the sides together so that the dough encases the filling. Pull back one side of the husk a bit and lap the husk snugly together. Fold the bottom up and flip the tamale over so that the weight holds the bottom flap in place. Repeat until all the filling has been used.
Cook for about 1 hour over boiling water in a steamer pot lined with small or leftover corn husks. The tamales can be stacked on top of one another or you can stand them on end, bottom down, next to each other so that they hold each other up if your steamer is deep enough. They are done when the corn husk can be pulled away cleanly and the dough is cooked through.
Serve with warmed Red Chile Sauce, guacamole and sour cream if desired.
Hints: Traditional ingredient lists for the dough call for lard but I got great results with the coconut oil. Almost any filling can be used. Chilled dough is much easier to work with. I would try
Rosemary Chicken Verde, or
Beef Chile Rojo, or
Pork Chile Verde, or anything you would put in a
taco. Rolling them takes just a few minutes once you get the hang of it. With helpers it can go very quickly but it really can be done by one person. The tamales can be refrigerated for a day prior to cooking. They can also be heated up a day after cooking in a microwave. Or frozen. The sauce would work with enchiladas or smothered burritos. The fillings could both be used for tacos or enchiladas. Like I said, super versatile stuff here.
These tamales remind me so of trips to Albuquerque, the tram ride to the peak of the Sandia Mountain to the east, the marvelous Mexican cuisine. The veggie tamale with the rosemary tastes just like New Mexico to me. Let me know what they remind you of...